(Editor’s note: This is Part 2 of a three-part series on the FreeMind software tool for creating “mind maps” of data.)
After a FreeMind mind-mapping (.mm) native file has been properly saved, it may be opened again for updating.
To see what the working interface looks like in FreeMind, a branch from an existing mind map is captured here. This branch shows some of the tools introduced in the E-Learning and Teaching Exchange wiki (ELATEwiki) that originated at K-State. Below is the opening screen of this mind map, which leaves the text highly readable but with some content flowing off the top and bottom of the screen.

To see what a more complex and complete mind map may look like, a screenshot of the site’s entire mapping is below.

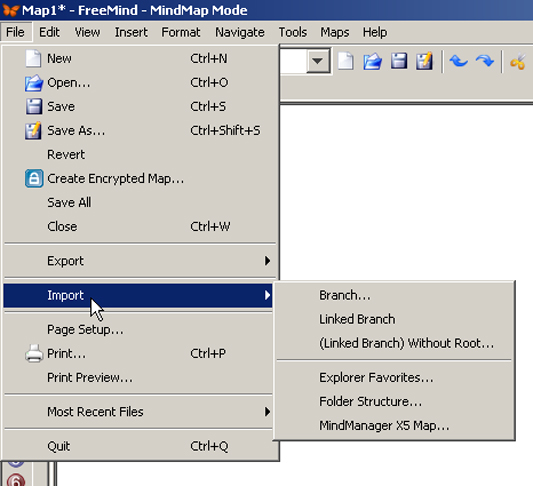
Importing information into FreeMind
This software can ingest various types of information: a stand-alone branch (a node with all its subordinate branches), a linked branch, a linked branch without a root node, and other elements.
Moving branches
Even after an object of information has been placed, it can always be moved. For example, if a branch should be moved, just right-click it. Then, copy it. Cut it. Right-click the node or the branch where you want this original branch to be moved. Then paste.
Another way to move a branch is to drag-and-drop. Just use the mouse to click the object. Hold it with the left mouse button. Move it physically to the branch that you want, and drop it. If it is placed at the wrong level of subordination, it may simply be moved again.
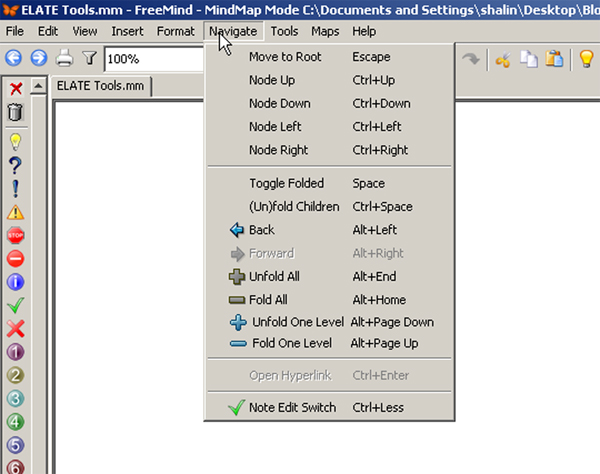
Finally, the highest level of control for moving nodes and branches would be to highlight the node or branch and then use the Navigate portion of the Menu Bar. This allows the movement of any object to the root, if desired. One may move a node up or down, left or right. If multiple objects need to be moved, they only have to be highlighted, and then all moved en masse. The Navigate area is also the space where particular branches may be folded and unfolded to simplify the viewing of the mind map.
Changing the mind map’s look-and-feel
To change the entire mind map’s look-and-feel, once the basic data has been put in, you may use Control+All to highlight your entire mind map, and then right-click any part of the highlighted mind map. Go to Format. There, you will find ways to update the text, the nodes, the links, the branches, and other style features of your mind map. You may institute changes. If you do not like a certain updated look-and-feel, you may use Control-Z to go back one step in the update.

Next in this series: Exporting publishable files from FreeMind