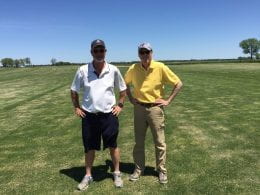
Kansas State University teamed with Texas A&M to develop a new cultivar of zoysiagrass called Innovation, that’s suitable for lawns and golf courses. Pictured is Ted Wilbur (left), owner of Sod Shop in Wichita, Kansas and Jack Fry, horticulture professor at Kansas State University. Wilbur was the first to grow Innovation commercially in Kansas.
K-State, Texas A&M develop new cold-hardy variety for home landscapes and golf courses
OLATHE, Kan. – Who doesn’t love the look and feel of a soft, green carpet of grass underfoot? Even better if it’s resistant to pests and requires less fertilizer than other grasses. A Kansas State University professor believes that zoysiagrass can fit the bill for home landscapes – even in Kansas and surrounding states.
Zoysiagrass is well known as a warm-season grass commonly grown across southern tier states for its dense, weed-resistant and slow-growing nature (think less mowing), plus it requires about half the water needed for cool-season grasses typically grown in the nation’s midsection.
Those who choose to grow zoysia should be aware, however, that as a warm-season grass, it goes dormant and turns brown in mid-October and may not green up again until late April.
“The determining factor for whether any warm-season grass that can be used here is winter survival,” said Kansas State University horticulture professor Jack Fry.
Kansas and other states across the middle of the country are in what’s called a transition zone, where both warm- and cool-season grasses can grow but weather extremes can prove challenging and sometimes injure or kill the grass. In order to improve on a longtime favorite zoysia called Meyer, Fry and his K-State colleagues teamed with Texas A&M Agrilife researchers to develop a new zoysia cultivar.
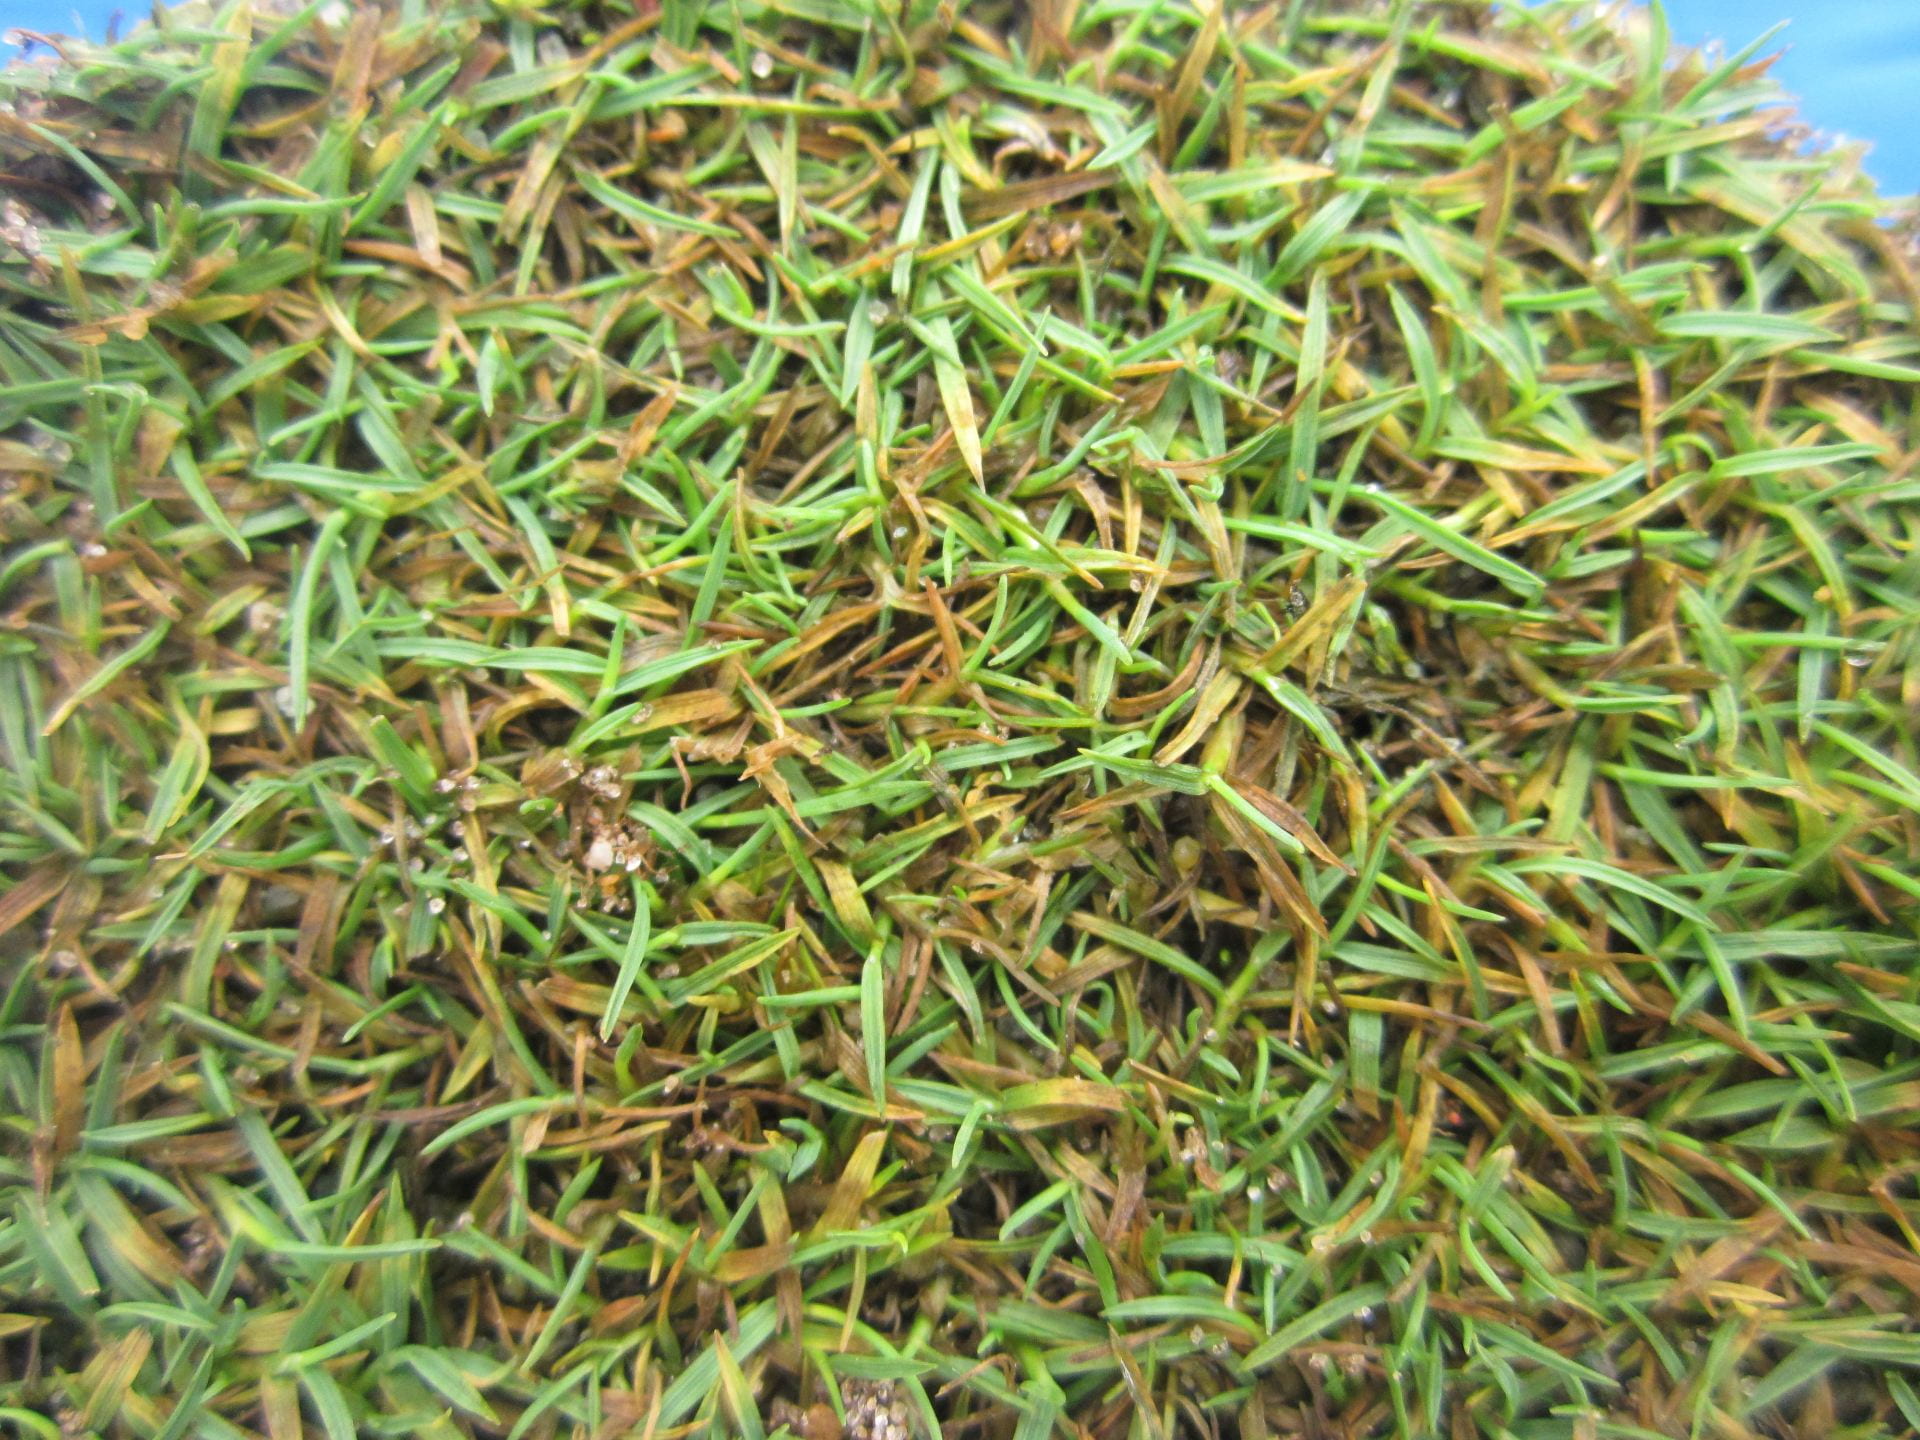
Their aim was to develop a cultivar that is as cold-tolerant as Meyer for areas in the transition zone, but also to offer improved characteristics, such as finer leaf blades and even better density which blocks out weeds.
The K-State team worked with Ambika Chandra, associate professor at Texas A&M, to develop a new hybrid that was ultimately named Innovation. The new hybrid can withstand the cold that can sometimes blanket the central U.S. as well as Meyer does, but also exhibits better quality, meaning it has a darker green color, finer leaf blades, better density and good uniformity.
Zoysiagrass is already widely used on golf course tees and fairways in Kansas and across the transition zone, but less so on home lawns, Fry said. When drought water restrictions come about, however, it’s a good choice for home lawns.
Zoysia, and especially newer cultivars like Innovation, also require less fertilizer or pest treatments to stay healthy than typical cool-season grasses such as tall fescue or Kentucky bluegrass.
To develop the new cultivar, the researchers used traditional plant breeding, crossing cold-hardy types with other southern-adapted types that offered high density and finer-textured leaf blades.
That density results in almost no herbicides being needed during the growing season, Fry said.
To get from initial crosses – about 1,500 in all – to the final product took about 13 years, Fry said. Along the way from those initial crosses, 35 looked promising, so were planted in 5-foot by 5-foot plots in Kansas and Texas and evaluated by the researchers, who then narrowed the list to seven.
Those top seven hybrids were tested at additional sites across the transition zone in Missouri, Oklahoma, North Carolina, Tennessee and Virginia. The result is Innovation, which was released for commercial growth and sales in 2015. It is currently available via licensed distributors through a company called Sod Solutions, which has sub-licensed production to 15 sod producers in eight states.
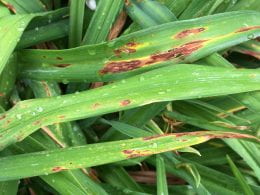
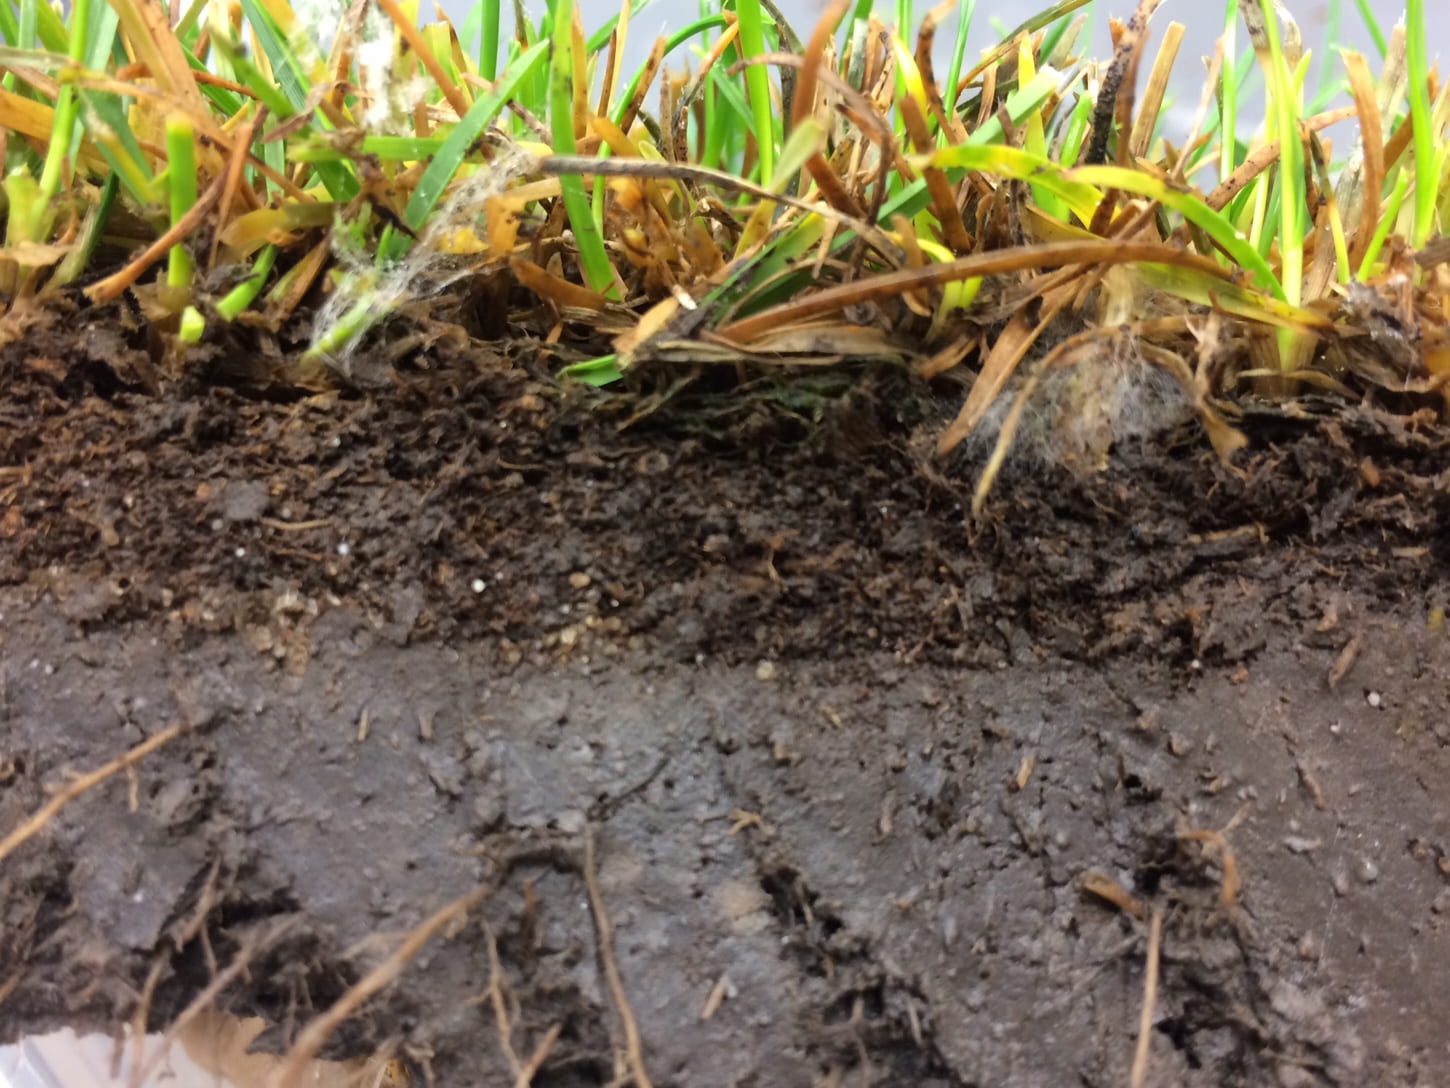
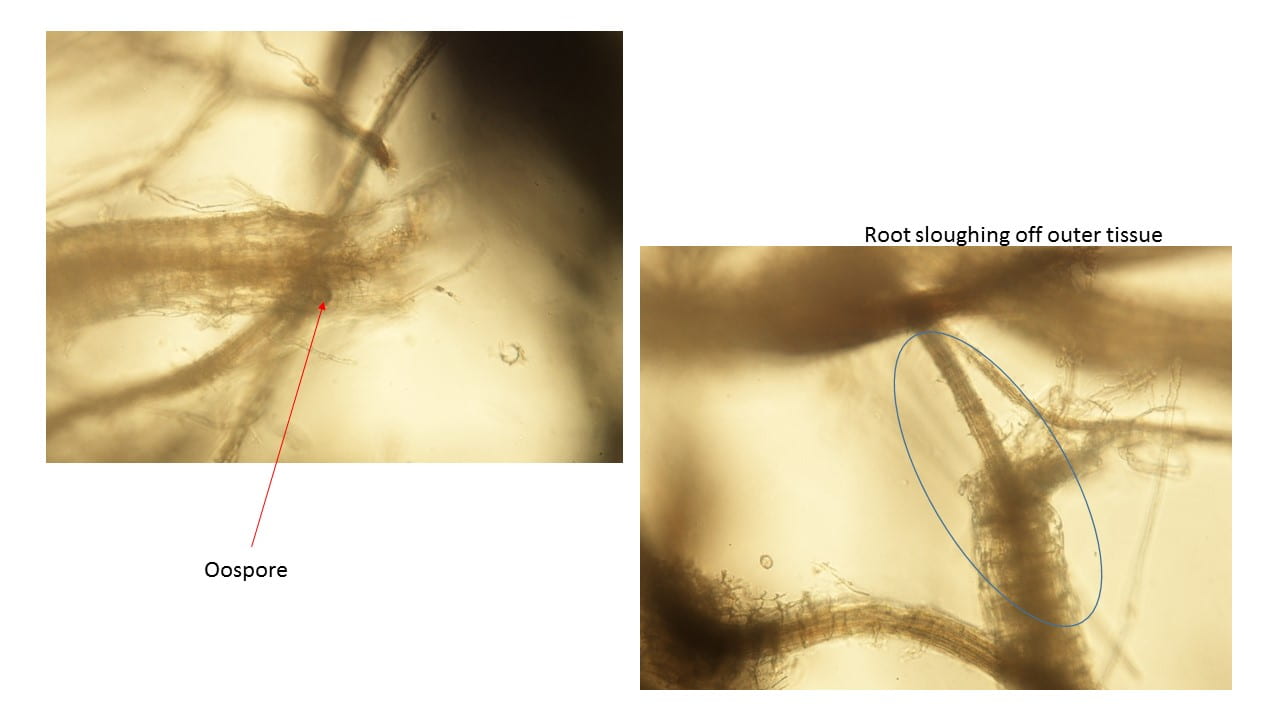
What’s next? A new phase of the K-State-Texas A&M research is under way which aims to identify grasses that have superior resistance to a disease called Large Patch, and there may even be types that are promising for use on golf greens, too, Fry said.
Post featured by: https://www.ksre.k-state.edu/news/stories/2019/05/zoysia-for-home-lawns.html
——-
More information about zoysiagrass is available at
https://www.bookstore.ksre.ksu.edu/pubs/mf683.pdf
or in a Clemson University fact sheet, https://hgic.clemson.edu/factsheet/zoysiagrass/


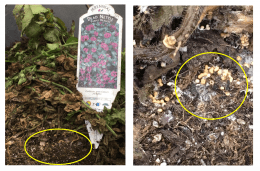
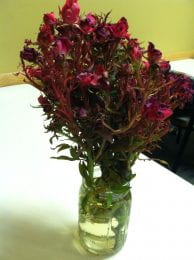
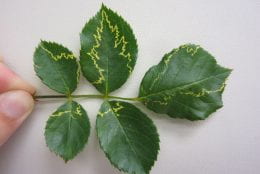
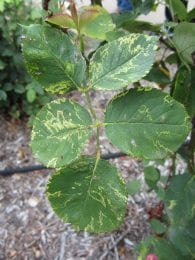
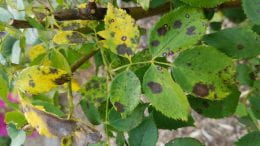
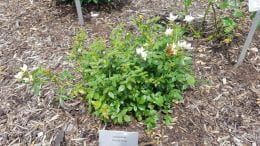
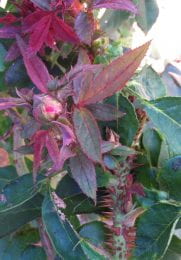 Left unchecked rose rosette virus will kill the infected plant and continue to spread to nearby roses via its insect vector (Phyllocoptes fructiphilus), an eriophyid mite. This tiny mite is not visible to the eye, resides in new growth and crevices, and is spread by the wind.
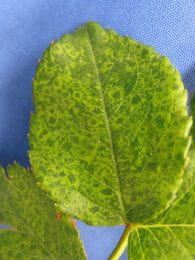

 Increased levels of humidity make this worse as the high water content of the air hampers the evaporation of sweat on your skin. This can result in heat exhaustion or heat stroke. Those most at risk for heat illness include infants, children, the elderly, overweight people and those who are ill or have certain medical conditions such as high blood pressure.
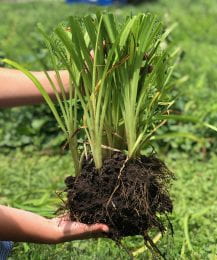
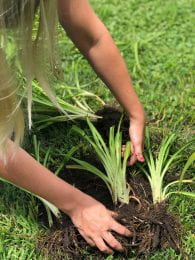
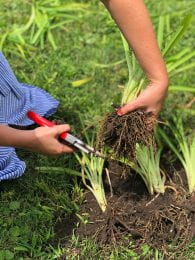
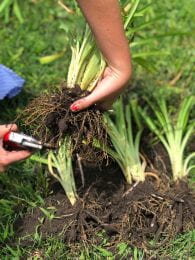
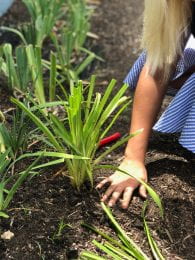
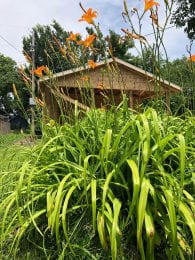 With our future garage being built, we have had to move hundreds of iris and daylily plants into a new garden bed. Being a horticulturist by trade, I couldn’t see these plants go to waste.