SoftChalk LessonBuilder is an authoring tool that helps create digital learning objects for e-learning. This will provide an overview of how to create a “Hot Spot”.
A Hot Spot taps into spatial understandings by having a learner look at an image or a map and learn about different regions.
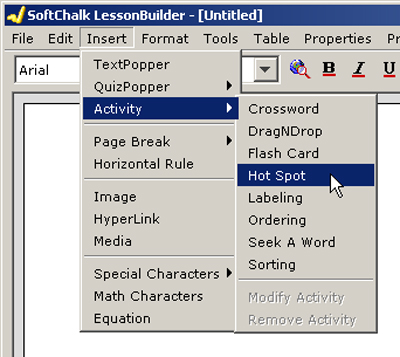
After you have started the SoftChalk LessonBuilder software, go to Insert -> Activity -> Hot Spot.
A Hot Spot Activity window will open.
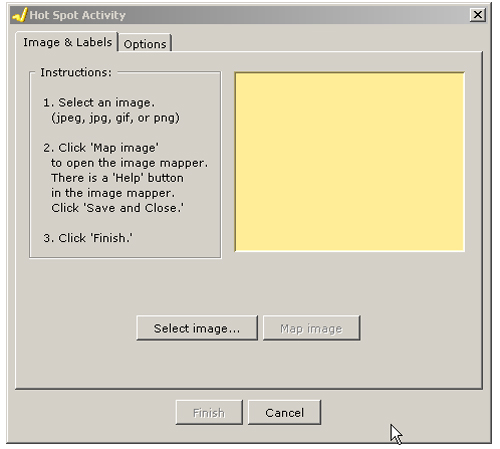
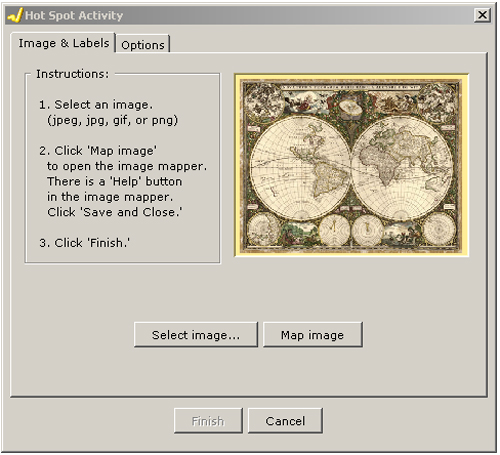
You need to select a digital image with one of the following formats: .jpeg, .jpg, .gif, or .png. Then click the Select image button. Identify the selected image, and then click the Map Image button.
In the next screen, you will have a choice of setting up a Hot Spot in one of two modes. “Explore” mode displays the text in the selected areas of the image with a mouse rollover. “Quiz” mode requires the student to click on the image to acquire the textual information.
In this screen, you also will enter the text that will show when a Hot Spot is rolled over with a cursor. Below the text box are the tools that may be used to define the area(s) of the Hot Spot in the image to the left.
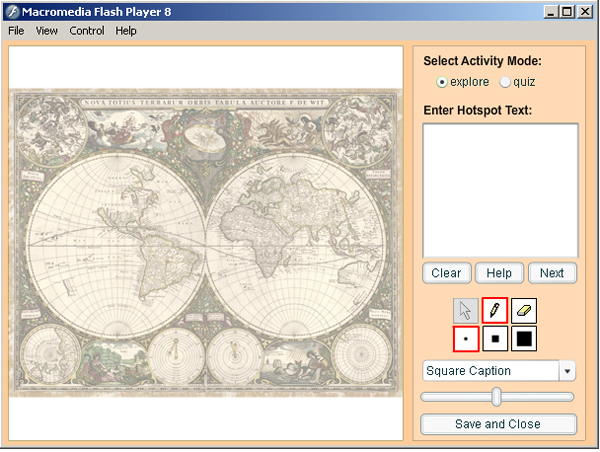
The pencil allows you to shade the image that will be responsive as a hot spot. The eraser removes the shaded areas.
The bottom row of boxes changes the size of the pencil nib. The whole area that should “activate” with a rollover of the mouse cursor should be shaded, as shown below.
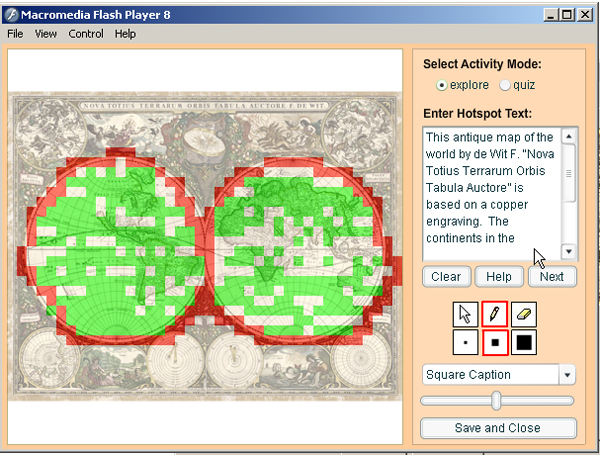
The antique map of the world (above) by de Wit F. “Nova Totius Terrarum Orbis Tabula Auctore” is based on a copper engraving. The continents in the Eastern hemisphere are conceptualized as crowded land masses. Comparatively, the Western hemisphere lacks a lot of details.
Click Save and Close. Click the Finish button. Save the entire Hot Spot.
The final image works as follows:
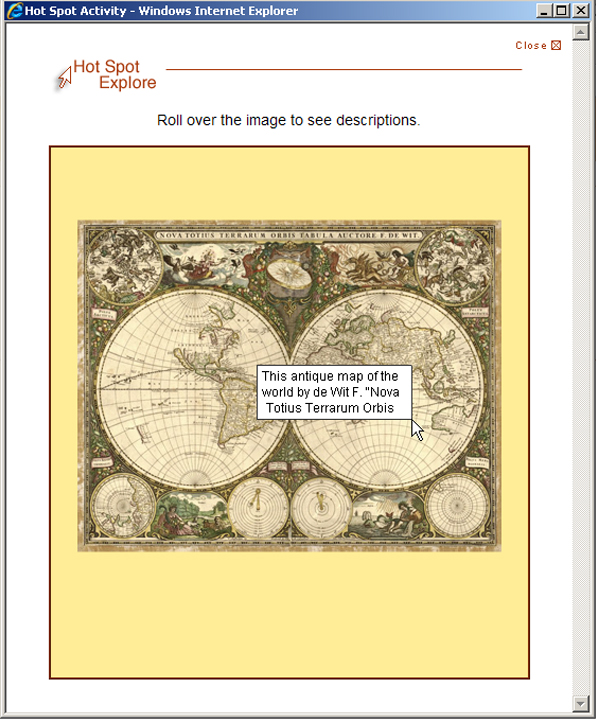
Note that the text that is displayed during rollover is limited, so it may help to have the information dispersed in different hot spots across a particular image.