This addresses how to preview a photo album in SoftChalk LessonBuilder 5 and then how to upload it onto a website or learning / course management system (L/CMS).
Previewing the (draft) photo album
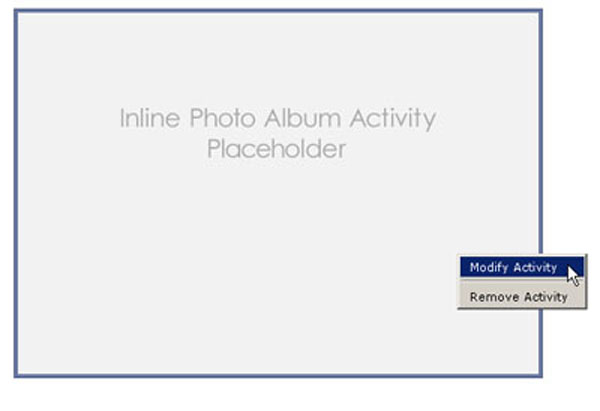
To open your saved photo album, right-click the Inline Photo Album Activity Placeholder. Click Modify Activity.

The window with your photo album will open. Once all finalized changes have been made, you may want to preview the photo album.
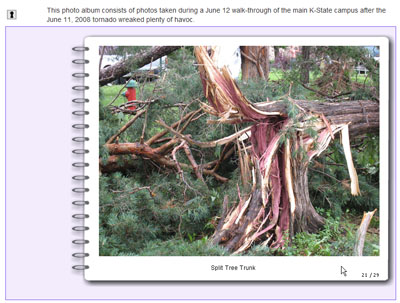
To preview your current photo album to see what it looks like, open your project. Go to the menu bar and click Preview, and then View in Browser (Ctrl + P). This preview should be fully functional. Click a photo album page to turn the page. Click the inner spiral ring to turn the page back. This digital photo album has a continuous scroll, so it will merely repeat once you’re at the end of the photo album.

Uploading a completed photo album
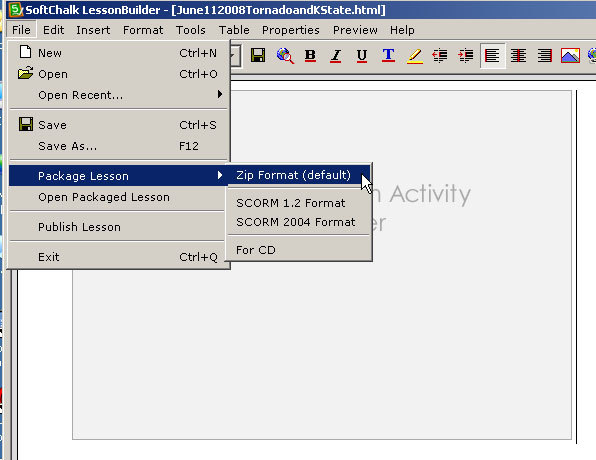
To upload the completed photo album on the site, first save all changes. Then, go to File > Package Lesson > Zip Format.

SoftChalk LessonBuilder 5 will package the lesson.

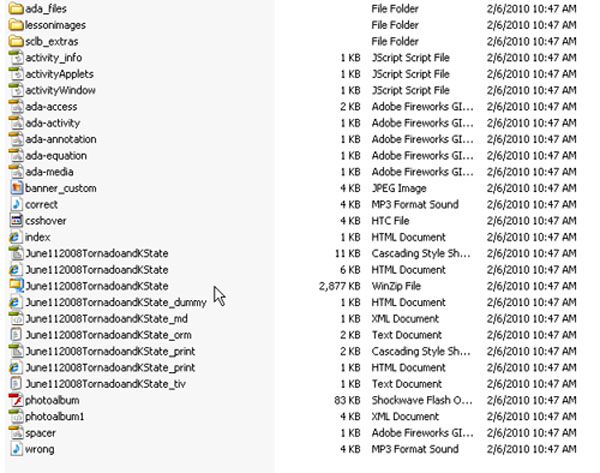
You will find a series of images and files necessary to deploy the photo album.
 Notice that the cursor is pointed to the zipped file — the file that will be uploaded to the site for playability.
Upload the zipped folder onto the site. Unzip the contents on the site, and only publish the index.html file or the June112008TornadoandKState.html file. The other files should only be available on the same folder structure as the published html file. These should be unpublished but available on “background” for the photo album to “play.”
These photo albums may be deployed on K-State Online and other learning / course management systems and sites. Others may upload the contents onto a “cloud” service like box.net and just paste the web address (URL) of the index.html file on a site.
This concludes the “Creating a Photo Album” short series for SoftChalk LessonBuilder 5.