A slideshow is a type of digital learning object that focuses on images and textual captions. Some slideshows include captions on the same slide, while others include captions in separate slides or pop-up windows.
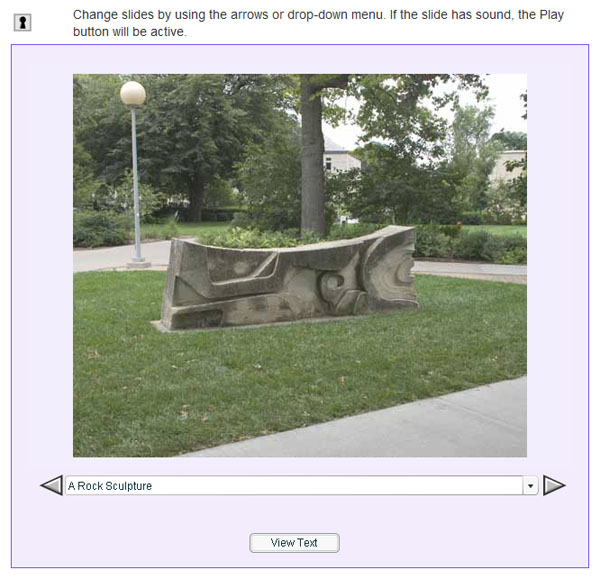
The following is a slideshow titled “An Outdoor Walk through K-State.”
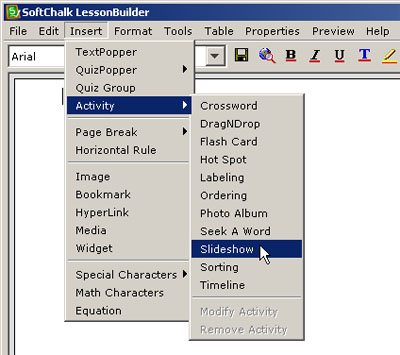
To begin making a digital slideshow in SoftChalk LessonBuilder 5, open this authoring software. Go to the menu bar. Go to Insert > Activity > Slideshow.
The Slideshow Activity window will open.
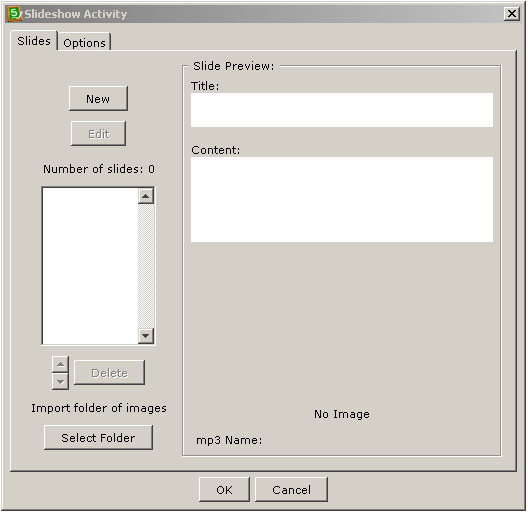
Click the Select Folder button in order to upload a set of images. Identify the location of the folder of images. Then click OK.
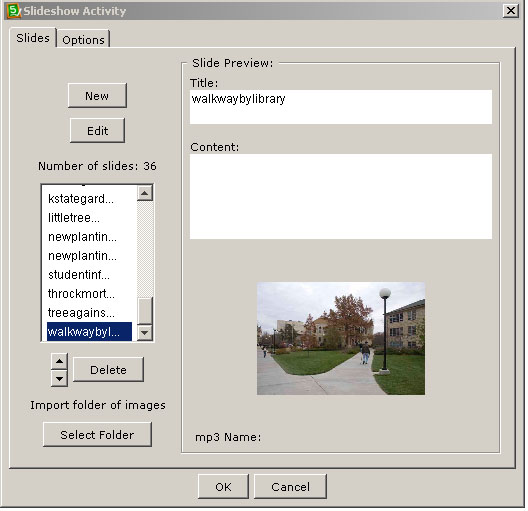
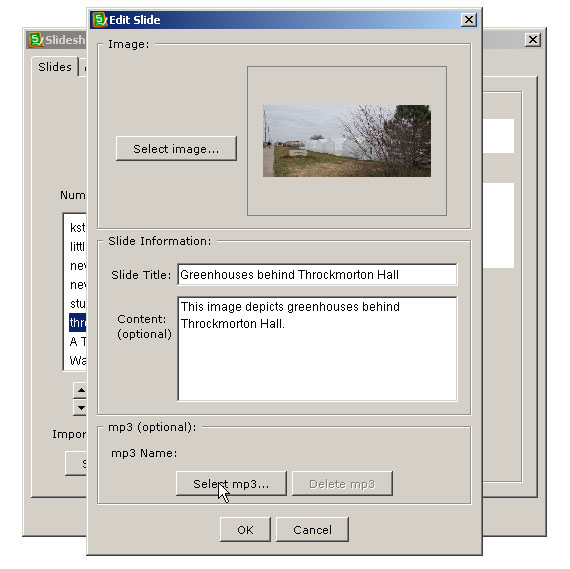
The images will upload with the default name images. The next step is to go through and correct the titles and to add some textual annotation to explain each of the images. As each slide image is highlighted in the window, click the Edit button in order to be able to revise the title and/or add textual content.
 Adding sound
If you want to add an MP3 file to go with each slide, you may also add some explanatory audio or music. Just go to the Select mp3 button to upload a short pre-recorded .mp3 audio file.
Slide consistency
Once each slide has been updated appropriately and consistently, you may want to save the show.
Saving and naming the slideshow
Go to the menu bar and select File > Save. Give the file an alphanumeric name without any spaces or symbols in the name. You will see the Inline Slideshow Activity Placeholder. To edit this, just right-click the placeholder and click Modify Activity.
Save the slideshow by going to the menu bar. Go to File and then Save. Once the file has been saved, it’ll be possible to preview the slideshow by going to Preview > View in Browser.
The final step is to package the lesson. Go to File > Package Lesson.
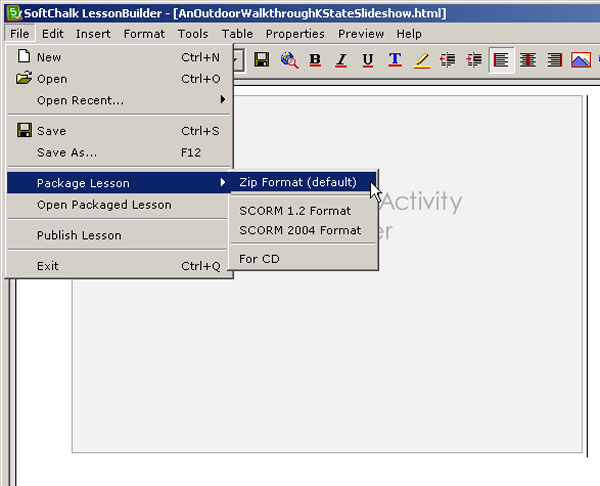
This zipped file may then be uploaded to a server or a learning / course management system for deployment.