This addresses how to caption images and annotate the photo album in SoftChalk LessonBuilder 5.
Captioning the photos
Most photos will likely need to be properly captioned or labeled. To get a sense of what the photo album looks like, let’s look at a preview of the existing photo album from the previous work. This will help users conceptualize the relationship between the image and the caption in the photo album. (More on how to preview the photo album will follow in the next installment.)
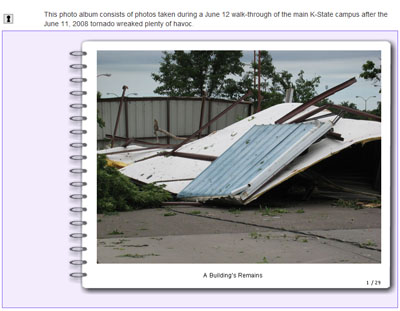
The above caption not only has words run together, but also has missing punctuation. It’s a good idea to revise all captions for correctness and readability. Captions are also important for accessibility (in terms of information-rich captions).
So back to the first image.
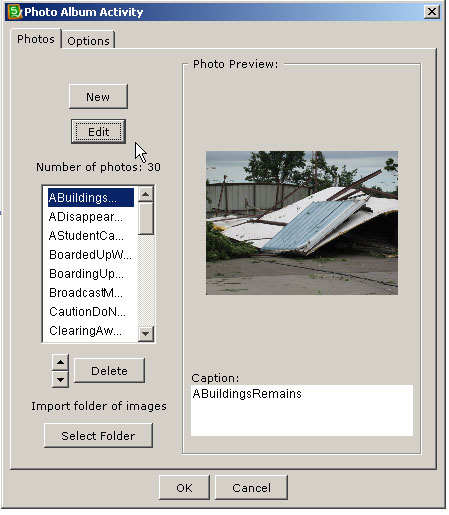
To edit the caption, click the Edit button. A new window will open to allow the user to change the caption. The caption window allows for the inclusion of several sentences, so more information-rich information may be offered. For this example, we will just use simple names.
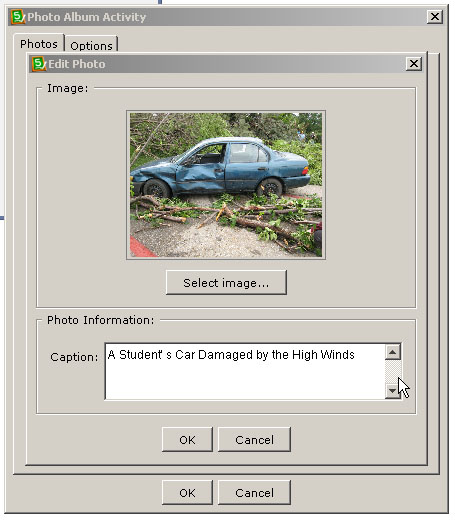
Click OK when you’re done with each caption.
Annotating the photo album
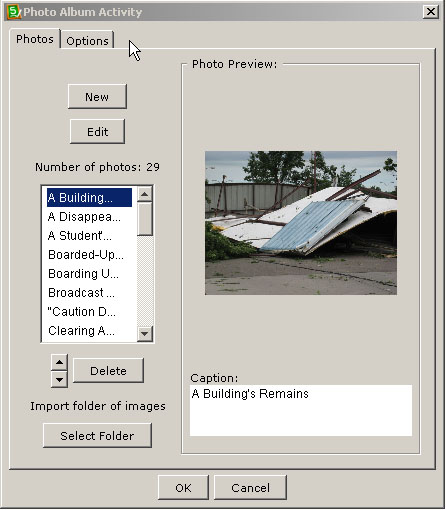
Once every image is properly captioned, it is important to add one other type of textual descriptor — a description of the entire photo album.
In the Photo Album Activity window, click the Options tab.
The Options link will take users to the following screen, which contains two fields. The first is a general instruction space for users of the photo album. The second is a screen-readable description for Section 508 compliance for accessibility.
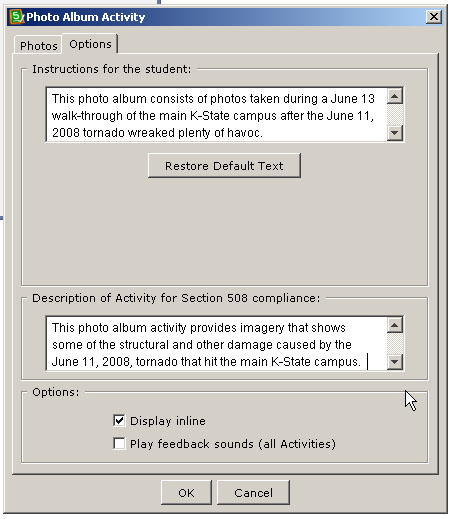
Click OK once the fields have been populated with the necessary data.
Next time: Previewing and uploading the photo album to the Web